How to Create a GIF from your Product Images in 5 Steps
GIFs are awesome and can be used in many ways. For instance, they are used at Buffer in customer services tweets, Slack channel, and emails. GIFs are included in team news and marketing emails. Besides, GIFs can be used anywhere a message is being sent. GIFS generates great results, especially in Twitter engagement. Check out the following steps that can allow you to easily create GIFs from your product images.
Create a file folder
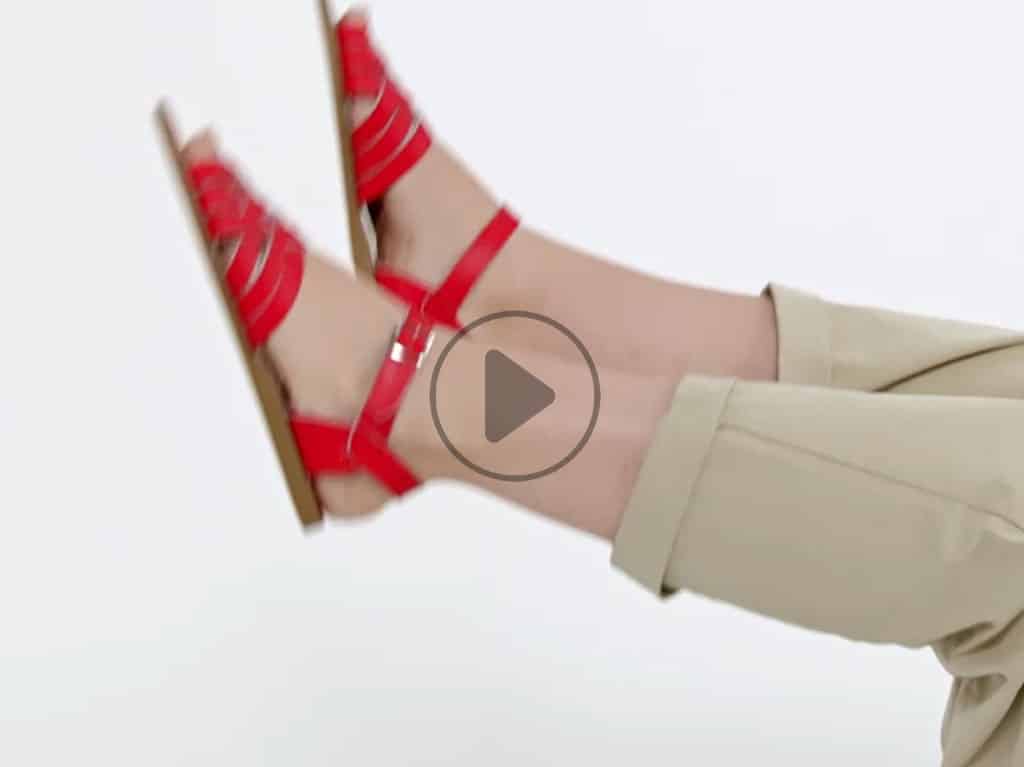
Create a new folder and select images you would like to include in your GIF and transfer them to the folder. For instance, if you want to create a GIF for your dress, you can choose six images and combine them to develop a 360-degree rotation. This kind of GIF is the best because a prospective customer can view your products in all dimensions.
Make use of Photoshop
Go to File then to Scripts and then Load Files into Stack. After completing the steps stated, a pop-up window appears. It allows you to select the folder that you created in the first step. Click Browse and choose the images you added in the new folder and tap OK. Photoshop creates a new file with your images layered vertically from the first one.
Ensure that you arrange the layers in numerical order according to the names you assigned them after you retouch them. If the images are not arranged in order, drag and rearrange them so that your products can rotate in a clockwise motion. Moreover, ensure images are aligned so that the GIF animations switch from frame to frame.
Use the Animation Palette to create frames
Go to Window then to Animation and open Animation Palette. The Animation Windows appears on the screen at the bottom. Click the menu at the top right and choose Make Frames From Layers. It is advisable that you click the lower icon on the right to be sure you are in the frame view rather than the timeline view.
Set the duration of the frames
Go to Select All Frames in the top menu. At the bottom of one frame click the drop-down arrow to preset time duration and speed for the frame. You can change each frame separately meaning that if you want one frame to appear longer, set it for a longer period.
On the first frame in the animation frame palette at the bottom left, you can set the number of times you’d like your GIF play or ‘loop’ when it’s being viewed. It is recommended that you choose continual animation so that viewers can admire your item for as long as they want.
Save your GIF
After setting your frames with the duration and order you want them to have, save the animation. To save a GIF file, go to File and then Save for Web & Devices screen. Ensure all the settings in this screen are set to your liking and then tap Save to choose the GIF that you created in the first step. Now your GIF is ready for sharing.


